Scanning an Artifact
Scanning is one of the primary functions of PolySwarm. When an Artifact is submitted, our network of engines will analyze that artifact for maliciousness and provide threat intelligence based on that analysis.
On the Scan page on PolySwarm UI, we support scanning of multiple types of Artifacts, currently including: Files, URLs, domains, and IP addresses.
Scan a File
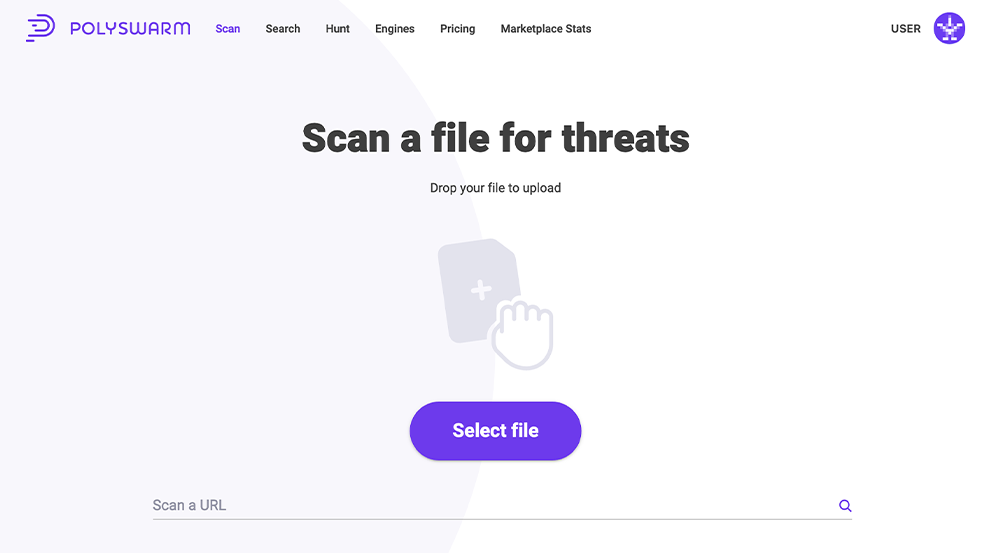
To scan a file, either drag and drop the file onto the Drag-and-Drop image, or click the "Select File" button to open a file chooser window that enables you to select a file from your local drive.
Once the file is submitted, the Scan Results page will show the processing status, scan results, and metadata information.
Scan a URL, Domain, QR Code, or IP Address
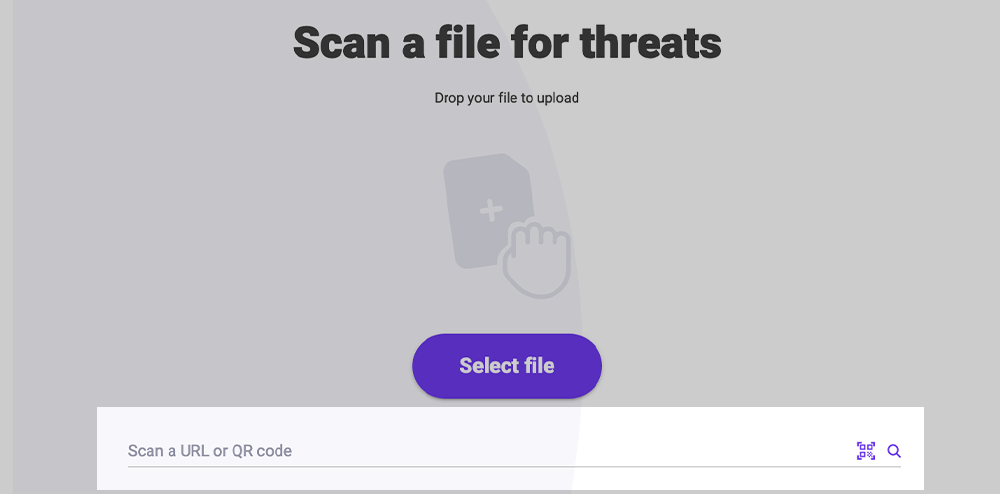
To scan a URL, domain, or IP address, enter it into the text box below the “Select File” button. Press the “Enter” key to submit that Artifact.
To scan a QR Code and have PolySwarm extract and scan the url from that image, use the 'qr code' button beside the magnify glass icon. PolySwarm supports any bitmap file type (not a vector image like SVG), complete list is below.
-
Supported Bitmap Image File Types:
- JPEG / JPG (.jpeg, .jpg)
- PNG (.png)
- BMP (.bmp)
- GIF (.gif)
- TIFF (.tif, .tiff)
- WEBP (.webp)
-
- PPM / PGM / PBM / PNM (.ppm, .pgm, .pbm, .pnm) – Netpbm formats
- TGA (.tga) – Truevision TGA
- ICO (.ico) – Icon files
- PCX (.pcx)
- DDS (.dds) – DirectDraw Surface
- IM – Format used by PIL
- SGI (.sgi, .rgb) – Silicon Graphics
-
Not Supported (Vector or Non-Bitmap):
- SVG (.svg) – vector-based, not supported by Pillow
- PDF (unless converted to bitmap)
- EPS (requires Ghostscript and not always reliable)
Once the Artifact is submitted, the Scan Results page will show the processing status, scan results, and metadata information.
Scan Results Page
This Scan Results Summary page displays the latest scan result data for an artifact, along with the metadata from our static analysis tools.
The page can be accessed from Searching and Scanning functions in the UI as well as the Latest Scan Results button on the Sandbox Summary Page for the Artifact.
To view the latest Sandbox results page for this Artifact you can use the Latest Sandbox Results button in the top right, and you can use the Latest Scan Results button to navigate back to the Scan result page.
Summary pane
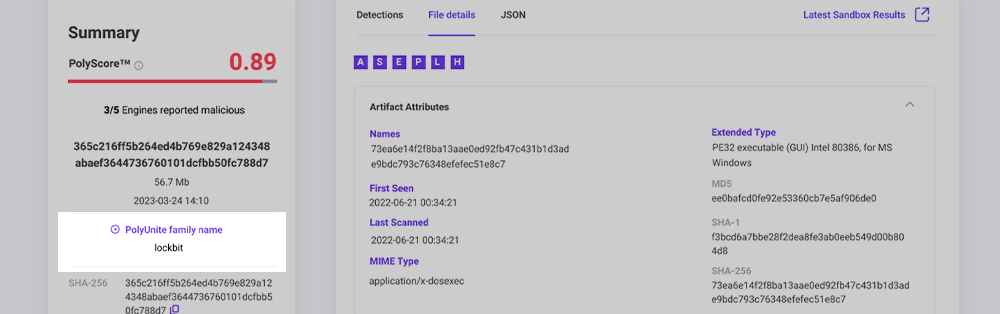
The summary pane on the left provides a quick overview of the analysis.

This sections provides access to some key information:
- PolyScore, which provides the probability that an artifact is malicious. Red is most likely malicious. Yellow is potentially malicious. Green is likely not malicious.
- Detections by all engines, which tells you how many engines chose to process the artifact and of those, how many found the artifact to be malicious.
- Detection summary is the name of the Artifact if the Artifact is a file. If the Artifact is a URL, domain, or IP address it will show that and in some cases the file name will be the SHA-256 hash.
- Below the Artifact name is the number of bytes in the Artifact.
- PolyUnite family name A common family name from all engines, Sandboxing and Analyst tags will be displayed.
- SHA-256 hash of the Artifact. In the case of a URL, domain, or IP address, the SHA-256 is a hash of the bytes of that string.
- Scan ID is the ID Number for the Specific scan being viewed.
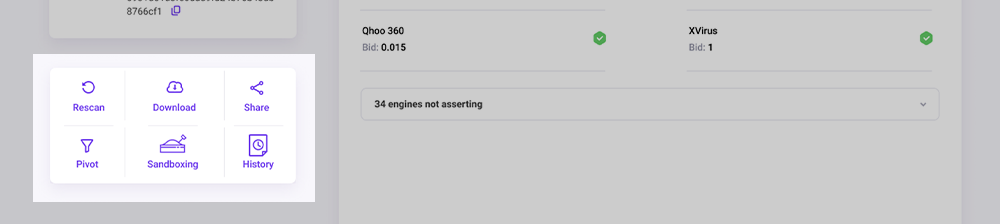
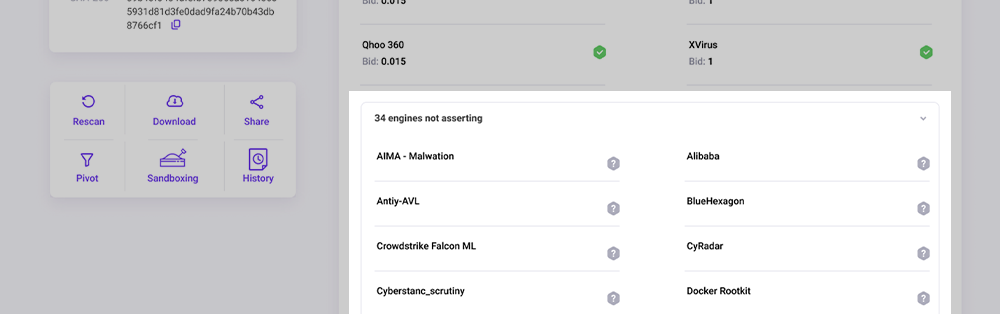
Below the Summary Pane is the Action pane with several buttons:
| Button | What is it for? |
|---|---|
| Rescan | Re-submit the Artifact to the marketplace for analysis. This can be useful if the last time it was analyzed was a long time in the past. |
| Download | Download the Artifact to your local host as an encrypted .zip file. In the case of a URL, domain, or IP address, this will download a text file with that string as the only content. |
| Share | Share a link to these scan results on social media. |
| Sandboxing | Submit a task to process the artifact in the sandboxes. This can take up to 1 hour. You'll see the results in the Sandbox tab when it is finished. |
| Pivot | Enable/disable the Pivoting feature. |
| Generate Report | Generates either a PDF or HTML report on demand, you will be able to choose sections to include. |
Detections tab
A list of all Engines in the PolySwarm marketplace and their detection results. This list is sorted alphabetically in two groups.
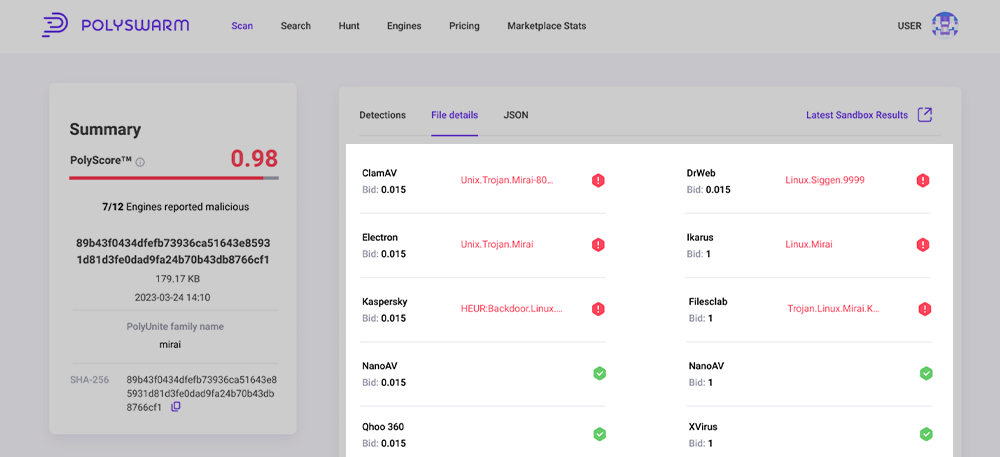
The first set are the engines that chose to process the Artifact and their detection results. Below the engine name is the Bid value. This is the amount of NCT that they Bid with their assertion. To the right of the name is either a Green icon with a check mark or a Red icon with an “!” exclamation mark. Green indicates non-malicious and Red indicates malicious.
The second set are the engines that chose NOT to process the Artifact. Next to those engines we display a grey “?” questionmark to indicate they did not provide any information on this Artifact.
Clicking on the name of an engine will display additional metadata about the engine to include things like: Engine Name, Engine ID, architecture, operating system, and version information.
File Details tab
This tab is only available when scanning a file. This tab displays output from the collection of metadata analysis tools that PolySwarm uses to process each Artifact. The page is separated into sections, one section per tool. Some tools only have results for specific file types, so different file types will have more or less tool sections displayed.
URL Details tab
This tab is only available when scanning a URL, domain, or IP address. This tab displays output from the collection of metadata analysis tools that PolySwarm uses to process each Artifact. Currently, for URLs, domains, and IP addresses we only use the “Artifact Attributes” tool.
JSON Tab
This tab gives you the entire scan result JSON object in a browsable and searchable display. You can use the search fields at the top to find specific keys and values in the JSON object. Or, you can expand/collapse parts of the JSON object to do your own manual searching.
Shortcut Boxes
On the File Details, Network, and Sandbox tabs, at the top, you'll see several boxes with letters in them. These are shortcut boxes, where the letter is the first letter of the name of a metadata tool. If the box is highlighted, there is metadata available from that tool. Clicking on the box will jump you to the results for that tool.
Pivoting
Pivoting is available on the Scan Results page. Pivoting allows you use attributes of on Artifact to find other Artifacts with the same attributes. To use Pivoting, first you click the Pivot button to enable Pivoting. When you enable Pivoting, several things on the page will change:
- A subset of the field names will become highlighted. The fields that are highlighted are the only ones that support pivoting.
- a Pivot Search box will appear at the top of the right side.
Pivot Search
To create a Pivot Search, find the highlighted fields of interest. Hover your mouse over the value in a field and click the "+" sign to add that value to the Pivot Search.
Once the value in a field has been added to the Pivot Search, hovering over the value will display a "-" sign. You can click the "-" to remove that value from the Pivot Search. Some fields have a list of values, and each value will have a separate "+" or "-" sign.
Once you've selected the values you want in your search, review and update the Start and End days for the Pivot Search. The Start day has to be on or before the End day. The values you select for the Start and End day are cached in your browser.
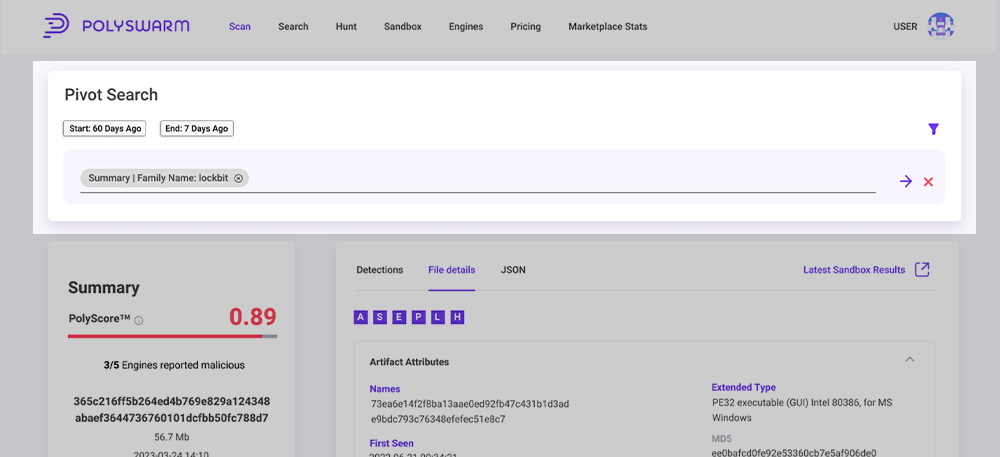
Finally, click the Arrow icon to generate the Metadata Search query. This will open a new tab and take you to the Metadata Search page with the query prepared for you. You can manually tweak the query, or click the search button to run the Metadata Search query.
For each artifact where you view the Scan Result page, you can do a Pivot Search. And from the results of each Search, you can view the Scan Result page of an artifact and continue to Pivot Search.
It is best to keep the Pivot Search to 5 terms or fewer. Running a Metadata Search query with too many terms can cause it to timeout. If that happens, remove some terms and try again.